Showing posts with label test. Show all posts

Monday, January 16

Studying the essence of a high heel

For those that missed my morning announcement on facebook; I'm currently having a three day educational period in Kankaanpää, as a part of my Master Shoemaker studies.
When I first came this morning, I had no idea what was going to happen. So I made a mistake by not bringing some high heel lasts or previous patterns I had made. Even though it was all awkward for me, my instructor quickly guided me to begin a test project from a pair of vintage heel lasts.

Let's see  what happened today:

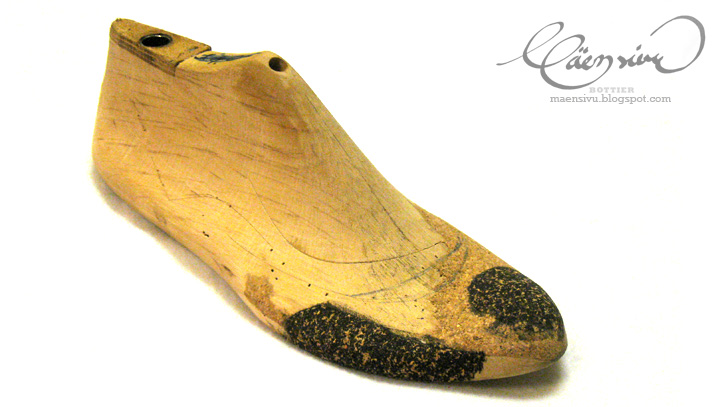
This is the last. Now, I won't modify it in any way, just design something and eventually make it.  Luckily, they had some components ready: the heels and the insoles are ready :) which makes my work alot easier.

I'm currently not a big fan of pointy heels. Maybe that'll change some day?

As another proof of their antiquity: they've been cast on a wooden block.

A wooden filling inside a brass tube. You ain't gonna see this kind of construction anywhere anymore. These babies have to be nailed.

The insoles are an almost fit. Needs some tinkering.

This is the sketch I did. A full brogue oxford cut. Well planned is half done.

Next up was making the tape copy.

And that 3D shape transformed into 2D.

And this is waiting for tomorrow's mockup.

Sunday, June 19

Making Ballerinas - Part 4 Fitting & Fixing

Fitting is quite an exciting moment: the shoe with it's basic elements get to be tested on your client and you'll get a more wholesome view on how the shoe will look and work while worn or walked with. When making bespoke shoes, it's rarely that one gets a perfect fit on the first try, so it's common that some small adjustments have to be done. In this chapter I'll show you some phases of fitting and fixing.

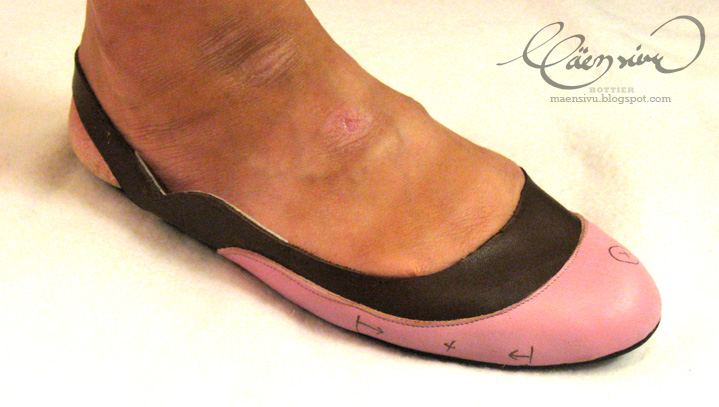
The fitting showed two main problems: the small toes are squashed on the shown area and the nail of the big toe needs more space.
The inner side of the ballerinas. You can see the needed toe space to the left and some changes to the uppers that I marked with red lines. The inner arch looks very fitting nevertheless.
So it's back to building! I took some 3mm rubber-cork mixture sheet and cut it to approximate size for the needed areas. Then both the last and the corks were glued.
And here they are, glued to the last.
After some careful shaping this is what I came up with.
The added shape is quite unnoticable, but will make a huge difference once the shoe is worn.
With the last fitting, the client is happy with the changes and we're ready to go!

Next up is the making of the actual uppers. See you in a few days!