With sewing, I wanted to take an old fashioned approach: a thin thread (60) and a thin needle (90), and do a extremely short stitch of about 1mm in length. This kind of stitching was common in shoes in the beginning of the 20th century, and if you ever visit a shoe-museum (there's one in Tampere, Finland called
Vapriikki) check the stitching in old shoes, for a craftsman they're absolutely marvellous! One might think that "what the hell, it's only stitching, who cares?" But stitching is actually one of the most important aspects when making shoes: not only does it define the whole aesthetics of the shoe but has a strong importance even on the durability: dress shoes tend to have a thin and usually only one row of stitching. The heavy work shoe can have a thick thread with possibly up to four parallel rows.
 |
| An example of the change in the history of stitching shoes: left is a men's boot from early 20th century, and on the right a similar article from the 21st century. See the difference? |
Ok, lets get back to business:
 |
| The leather edges have to be made thin wherever needed, this is called skiving. Skiving is done for different reasons, of which the two most common are; having different kind of seams and edges and to make the edges of the leathers that go under other leather layers to be non-visible to the surface. This is a skiving machine with a rotating blade, and I can make a more detailed post of this if anyone fancies that. |
 |
| Here's a closeup of a skived piece, where you can see that the flesh side is close to it's normal thickness on the other side of the skive and the edge is almost 0mm thick. This is a folded edge skiving. See below for more info :) |
 |
| Skiving at it's most traditional: with a curved knife. I skived only a thin line from the edge because it was my first time skiving alcantara and it doesn't work like leather so I had to be careful. |
 |
| Skiving can also be done with a grinding machine, though only for the things hidden between the lining and uppers. You can see the difference in these side-stiffeners: the left one hasn't been skived. |
 |
| A non-flexible and incredibly thin folding thread is glued 6mm away from the edge and necessary cuts are made to make the folding easier as seen on the right piece. The edge is folded with contact glue underneath the leather on the left piece. |
 |
| I folded the alcantara pieces too, to get as neat a look as possible. |
 |
| And there you have it, all the pieces folded and ready for sewing! Well, no folding for the lining though ;) |
 |
| And here's what a shoemakers best friend looks like. It takes alot of sewing before one gets friendly with basically any kind of machine, and sowing machines are especially quirky. |
 |
It has a kind of a pole whereon it's easy to sew shoe uppers, since they're quite small and have
more three dimentional shapes. |
 |
| Once all the sewing is done, I glue the side-stiffeners to the lining. |
 |
| The surplus lining is cut away with scissors... |
 |
| ...And here's what you end up looking from the other side. Then the lining edges are painted black so that they won't "jump out". |
 |
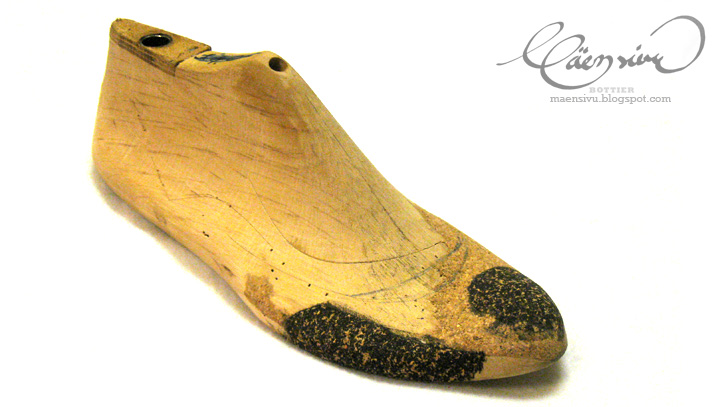
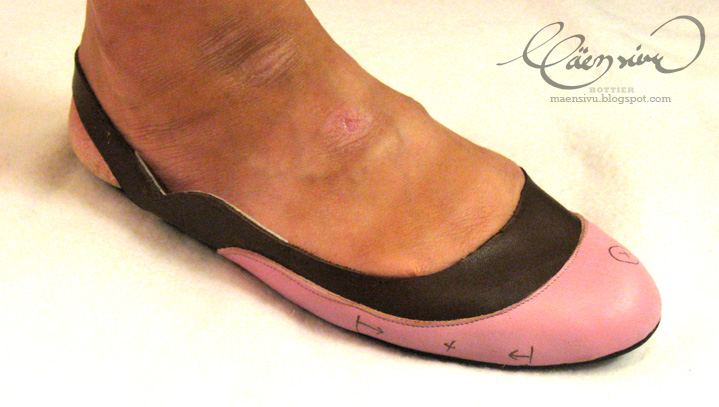
| And the uppers are ready to be lasted! |
 |
| And a finishing touch is the bows. Here you can see the old fashioned small stitching , and my lack of experience with both the particular sewing machine and the stitching. |
Next up is lasting!