Showing posts with label feet. Show all posts

Wednesday, July 13

The Paubellarinas

Inspiration can happen anytime. Whether sitting in a bus, doing work or watching opera, anywhere. This time my inspiration was a blog, maybe the first fashion blog I've ever gone to: Paubellas. I wanted to dedicate these shoes for her and her blog with their name: The Paubellarinas. My first comment in history was about some ballerinas she wore, and I started to ramble about how I couldn't understand them for the sheer reason on non-aesthetics that I thought flat shoes in general possess. Well, I got her sympathy for not understanding women in this issue, but a moment later some designs for ballerinas started whirling in my mind. So I drew them down, and decided to start a project in making a pair. And here they are ready. Such is inspiration.

These were done bespoke for my wife, who also keeps a lovely and successful children's clothing blog called Unikuun terapiahuone, with lots of elaborate applications and tailoring, check it out! She was very pleased, which was a relief since I didn't let her affect the design. Except in one thing, as you'll see in a moment:


The main ingredients: Calf leather and alcantara (synthetic) uppers. Full Goat leather lining. Colored red leather sole with rubber inserts.

And there's the wish my client had: to have a heart shaped something in the soles.


The signatured red soles. I know it's a rip-off from Christian Louboutin, but they just look sooo good :D


Thank you all so much for following this project! What should I do next? High heels? What would YOU like to see made?

Sunday, June 19

Making Ballerinas - Part 4 Fitting & Fixing

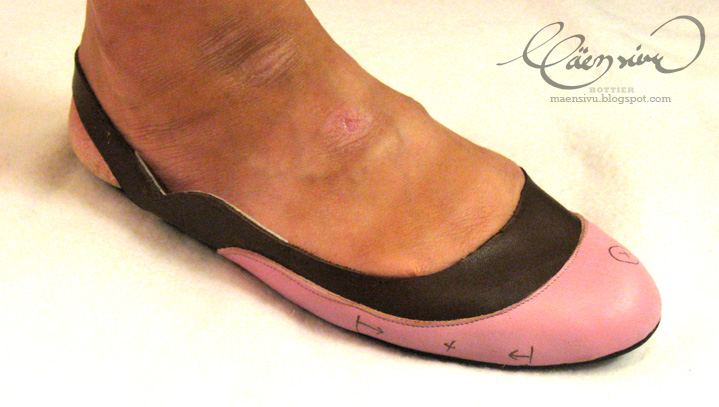
Fitting is quite an exciting moment: the shoe with it's basic elements get to be tested on your client and you'll get a more wholesome view on how the shoe will look and work while worn or walked with. When making bespoke shoes, it's rarely that one gets a perfect fit on the first try, so it's common that some small adjustments have to be done. In this chapter I'll show you some phases of fitting and fixing.

The fitting showed two main problems: the small toes are squashed on the shown area and the nail of the big toe needs more space.
The inner side of the ballerinas. You can see the needed toe space to the left and some changes to the uppers that I marked with red lines. The inner arch looks very fitting nevertheless.
So it's back to building! I took some 3mm rubber-cork mixture sheet and cut it to approximate size for the needed areas. Then both the last and the corks were glued.
And here they are, glued to the last.
After some careful shaping this is what I came up with.
The added shape is quite unnoticable, but will make a huge difference once the shoe is worn.
With the last fitting, the client is happy with the changes and we're ready to go!

Next up is the making of the actual uppers. See you in a few days!

Saturday, June 11

Making Ballerinas - Part 2 The Last

The shoe is built piece by piece on a last. Last is the most central part in shoe making: the shape that defines basically everything that makes a shoe. There are some exceptions, to which I'm not going to now. Because of it's importance it's the most difficult and diverse to master in the art of shoe making.
I'll now show some phases of shaping the lasts to my specific purpose. This is not a tutorial, so I'm not going very deep on the subject but rather give all you readers a chance to take a peek at the phases.
Measurements:
The customers feet, pencil, paper and a tape measure is all one basically needs to  start the show.
The image of the foot is drawn on paper, and careful measurements are made from key parts  of the foot.
And this is more or less the template you'll end up with.

Shaping the last:
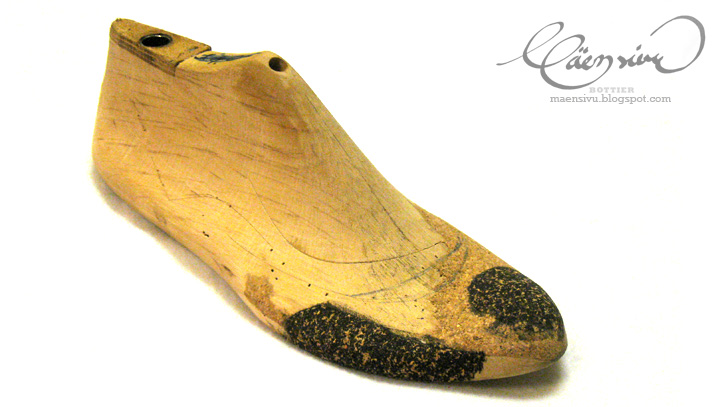
For lasts I took some old pair laying around my shelf at work. Now the ideal would be to have their heel height the same as the one you're making, but since this wasn't possible I did some fine tuning to them.
The heel height is transformed into a flat shoe.  Top left is the original last with a blue cut line. Next down is the  changed last with it's bottom shape to the right. The last last with the final shape.
The toe shape had a dramatic change.
To try out the shape of the last, a handy heat formable plastic is first wrapped on  the last and then cut to an estimate model to be fitted on the customers foot. Kinda like a pre mock up. I'll go with these!

I couldn't help myself to try on a peace of leather :D It's also difficult to see all the shapes of the tip, so  this gives a better view on how things are gonna look. I'm quite satisfied with the result :)
Next up is making patterns and a mock up. See you soon!